This capability is available only for users with Customer Admin role.
This article will walk you through setting up an SSO connection in Hunters that will allow you to add users and manage them in a centralized identity provider instead of manually using the Hunters platform.
💡Before you start
To complete this process you'll need the following:
Know which identity provider is used in your organization.
Access to the identity provider management system.
STEP 1: Start the process
From the platform top bar, click your name and then click Administration.

The Administration window opens.
Navigate to SSO and then click Add New.
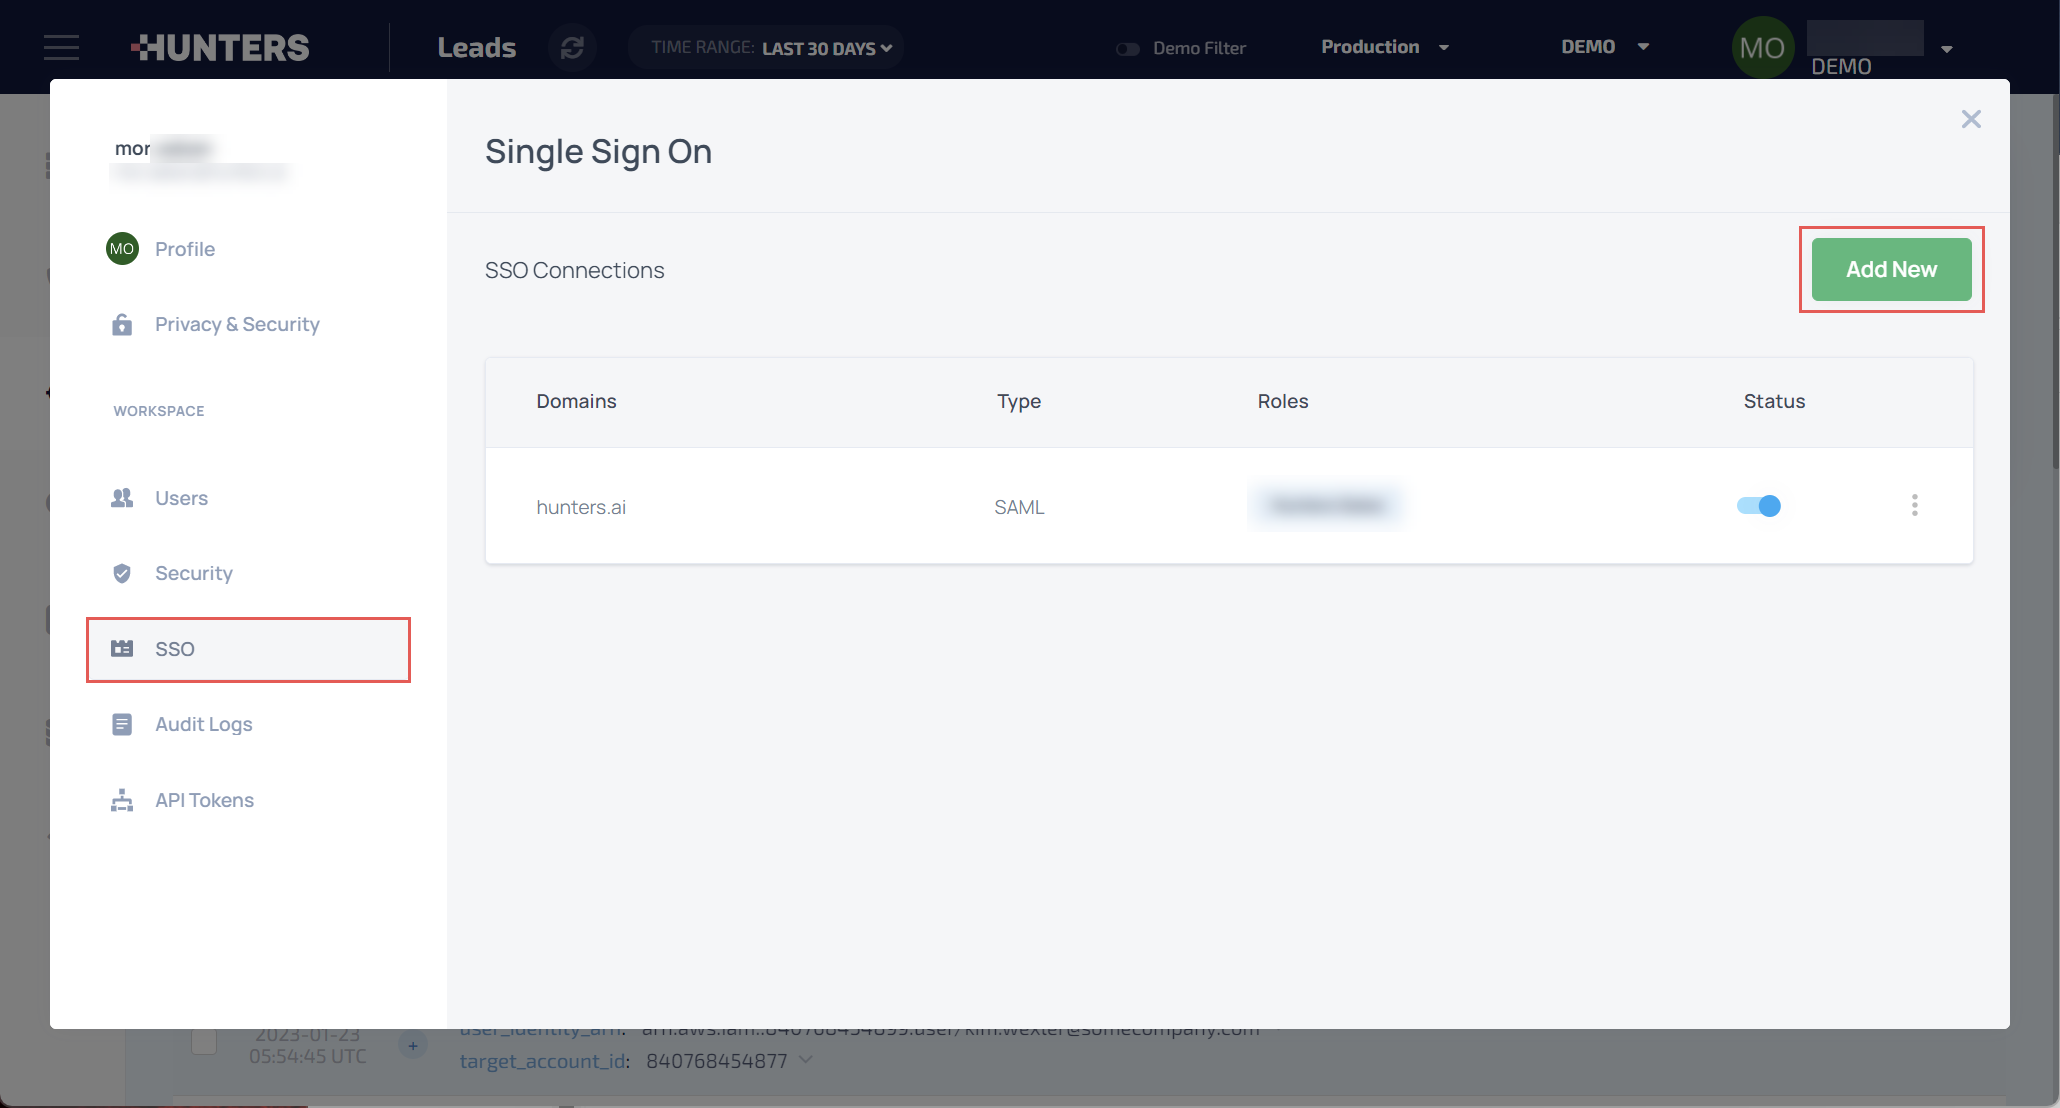
The Configure SSO window opens.
STEP 2: Configure your identity provider
From the dropdown list, select the connection type used by your organization and continue according to the selected method.
📘Note
Hunters currently supports only SAML connection type.

From the radio buttons field, select the connection method:
AUTOMATIC - this is the recommended option. It will require you to upload an XML file provided by your identity provider.
MANUAL - this option will require you to provide an SSO Endpoint URL and Public Certificate.
Upload a metadata XML file provided by your identity provider:
Open your identity provider platform and create a new app integration.
Provide the ACS URL and Entity ID as provided on the Hunters platform.
From your identity provider platform, download the metadata XML file.
Navigate back to Hunters and upload the XML file.
Click Proceed.
📘Note
Each identity provider has a different interface and steps to generate the metadata file. Consult the documentation of your provider to learn how to complete this process.
From your identity provider platform, copy the Identity Provider Single Sign-On URL and paste it into the SSO Endpoint field in Hunters.
This URL is the endpoint responsible for receiving SAML AuthnRequest messages.
Example:
https://mycompanyname.mysamlprovider.com/app/myorg456_test123/exjo2H0GTZ357/sso/saml
From your identity provider platform, obtain the Public Certificate and paste it into the Public Certificate field in Hunters.
A public certificate can be represented as a file in a standard format such as X.509, which is a widely used public key infrastructure (PKI) standard.
Click Proceed.
STEP 3: Claim Domain

Under Domain Name, enter your organization's domain and click Proceed.
Open your DNS provider management console and create anew TXT record.
For the record name, paste the text provided under the Record Name field.
For the record value, paste the text provided under the Record Value field.
Once the TXT record is set up in your DNS provider management console, navigate back to Hunters and click Validate.
Once your domain is claimed, click Proceed.
📘 Multiple domains
You can configure multiple domains for an account. This can be useful if you're using multiple environments for development or multiple production applications on separate domains and need the SSO connection to cover several domains.
STEP 4: Manage authorization

Under Default SSO roles, select which roles should be assigned by default to all users connected through SSO.
Under Roles Groups Mapping, map between your IDP groups to specific roles and permissions on Hunters. For instance, if you have an Admin group defined in Okta, you can define a rule that will provide all users in this group as Hunters Admin users.
Click Done.
The SSO connection you've created will now appear on the connections list.From the Status column, switch the toggle on to activate the connection.

📘 Edit and delete SSO connections
To edit or delete existing SSO connections, click the ellipses for the relevant connection and select Edit or Delete.